Setup instructions for
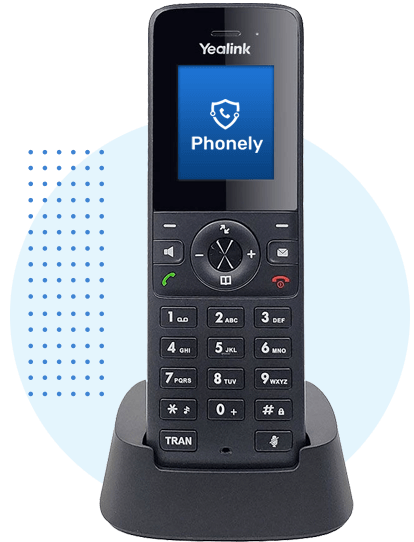
VoIP Phone Yealink W73P
Connecting your Yealink W73P VoIP Phone
Step by step video instructions on how to connect your Yealink W73P.
Pairing multiple Yealink W73P's
If you have more than one Yealink W73P in your household, this is how you pair them.
What you get in your box
Below are the items you will find in the box.
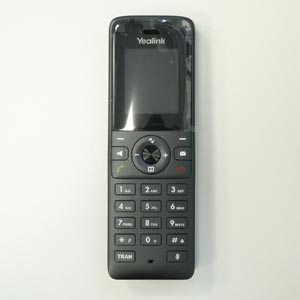
Phone
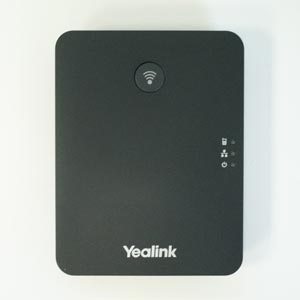
Base station
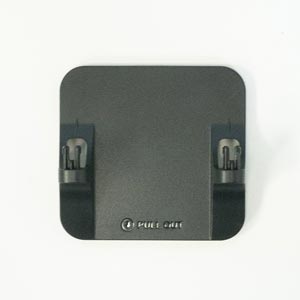
Base stand
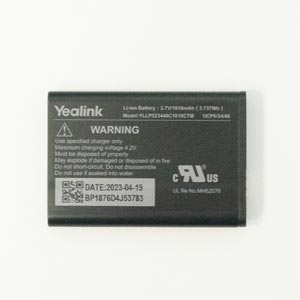
Rechargable battery
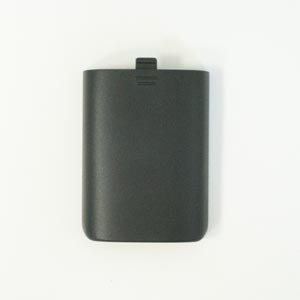
Battery cover
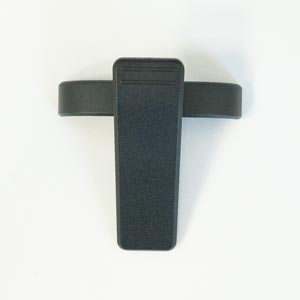
Belt clip
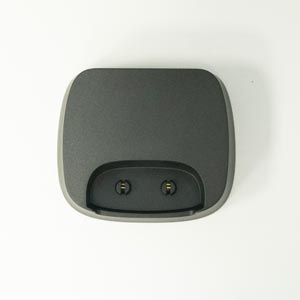
Charging cradle
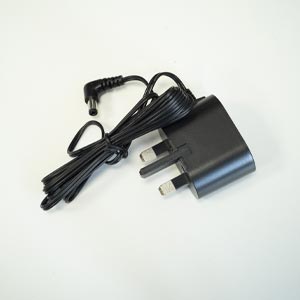
Power adapter
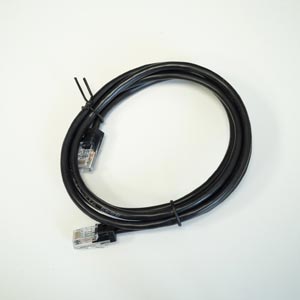
Ethernet cable
Connecting your base station to the power & your router
A base station allows you to have more than one cordless phone. This lets you transfer calls between handsets and have phones in multiple rooms. And unlike your analogue phone, the station will be plugged into your router instead of the BT socket on your wall.
1 Connect the power adapter to the back of your base station and into the wall socket.
2 Connect the ethernet cable to your base station and your internet router.

Attach your base station to its stand
Your base station comes with a stand so it sits on your side table nicely.
1 Take the base stand and the base station and align the snap-fits with the corresponding holes and push forward, snapping them into the holes.

Adding your battery
Your new cordless phone has a rechargeable battery as its source of power.
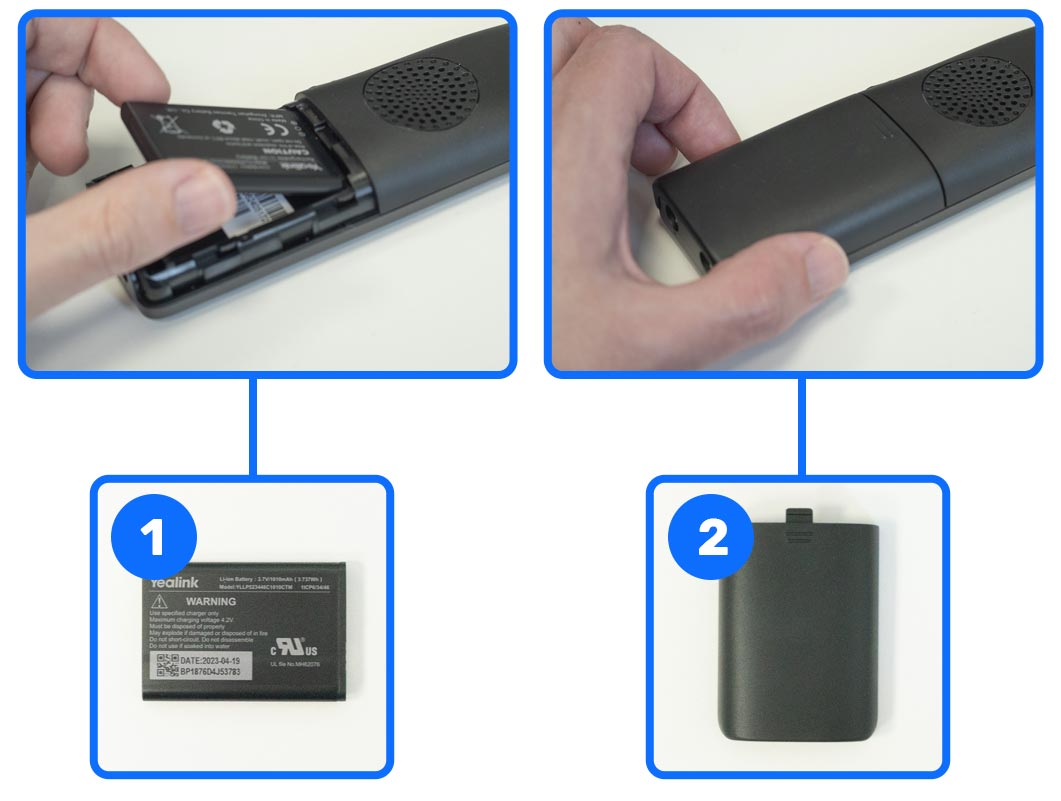
Below you can see how to fit your battery to your handset.
1 Take the battery and slide it in into the phone. Make sure the golden pins are touching.
2 Take the back cover and slide it in.
Charging your phone
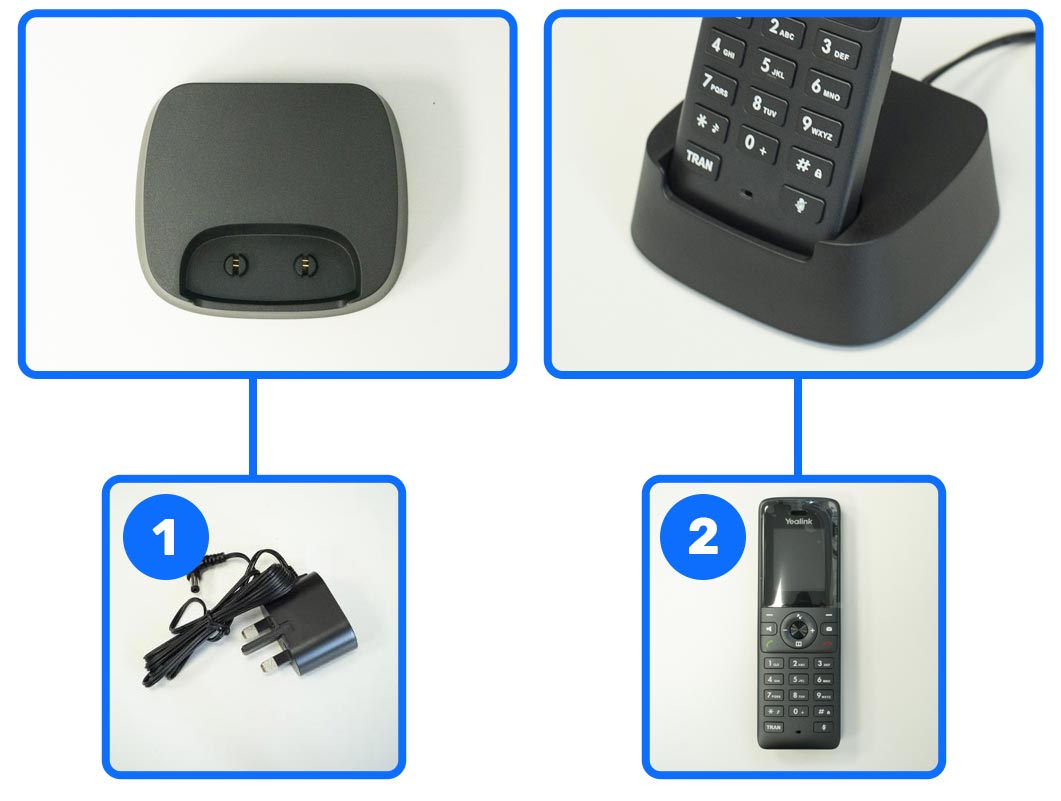
To charge the batteries in your handset, it must sit in its cradle, and the cradle must be plugged into the mains, as pictured below. After a few hours of charging, your new phone will be ready to use!
1 Plug in the power adapter at the back of the cradle, and then plug it into the wall socket.
2 To charge the phone simply insert the phone into the cradle.
Buttons explained
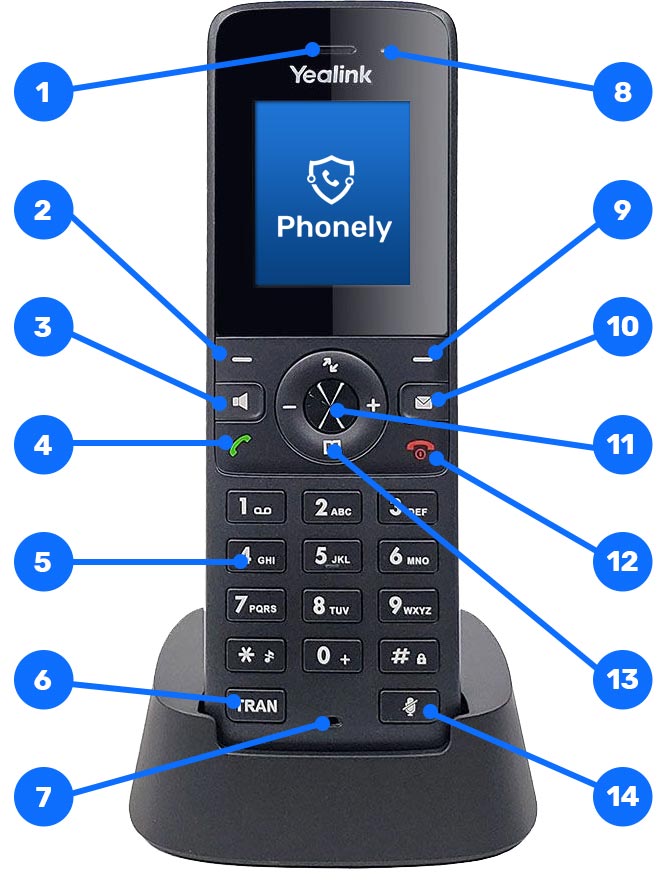
Below you can see what each part of your new phone does.
1 Receiver
2 Menu buttons
3 Hands-free or loudspeaker on/off
4 Off-hook key
5 Keypad
6 Transfer call
7 Microphone
8 Power LED indicator
9 Menu buttons
10 Message key
11 OK key
12 On-hook key/power key
13 Navigation keys
14 Mute microphone
Now your new phone is ready to use!
If you need further help with setting up your new phone, please contact our friendly UK-based team on 0800 112 5000, email hello@phonely.co.uk or use our Chat to us.
If you have more than one Yealink W73P phone, continue below to pair your phones together.
Pairing additional Yealink W73P's
Make sure you have your main Yealink base station and new additional handset in front of you.
1 On your main Yealink base station click and hold the large button for 3 seconds, until the green light next to the handset icon, flashes.
2Your new additional handset will have "Unregistered" displayed on the screen. To pair it to your base station, click the left button immediately below the screen where it displays the word "Reg".
3Wait a few moments while your handset shows that it's "Searching".
4After it has completed the search, your handset will automatically connect to your existing Base Station.

Now your additional W73P is ready to use!
That's it! Your handset is now ready to use. We suggest you make a test call just to confirm it works as it should. If you need further help with setting up your new phone, please contact our friendly UK-based team on 0800 112 5000, email hello@phonely.co.uk or use our Chat to us.
